Here’s my second SQL server tutorial of the week, this time demonstrating how to import csv files into SQL tables, I may have to change the name of the blog at this rate.
A few years ago I posted a tutorial showing a fairly complex route to create and update a table using the BULK INSERT method. For some reason, in those days and at that Trust, I could not use the SQL Server Import wizard. Thankfully that joy has now been opened to me and you wouldn’t believe how much easier it is to use.
How to Use the SQL Server Import Wizard
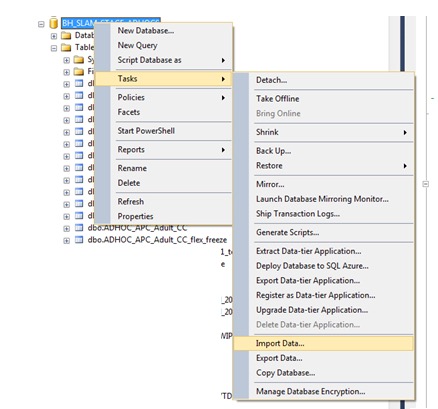
Open SQL Server and right click on the target database, then navigate through Tasks - Import Data
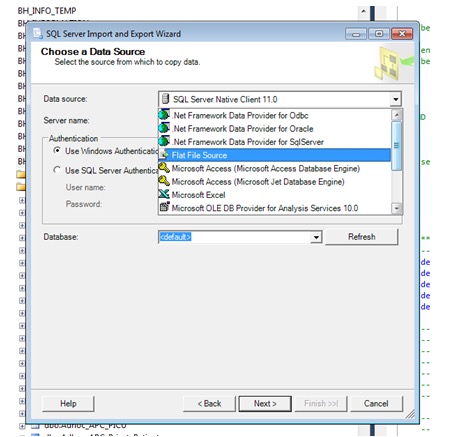
Then you choose your data source, in this case that will be a Flat File Source.
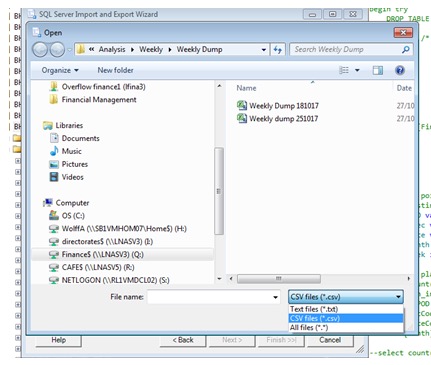
Navigate to your file. In my case I am looking for a csv rather than a text file but the process is the same for either.
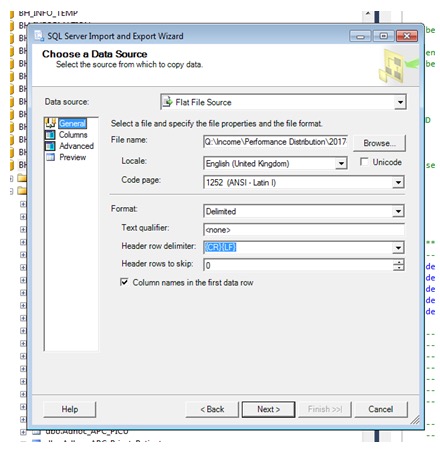
Having done this you should ensure that the “Column Names in First Data Row” is checked – providing of course that your data is set up this way.
You could keep hitting next at this stage until you reach the where to save location but it probably is worth scanning through some of the different options left in this dialogue box.
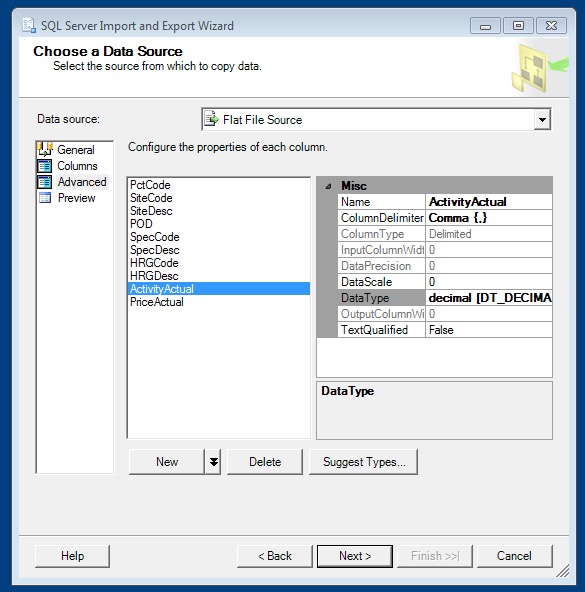
The advanced option lets you run through each of your fields to confirm that the data type has been appropriately selected. In my case I did need to change my activity and price columns to be decimal as they had defaulted nvarchar.
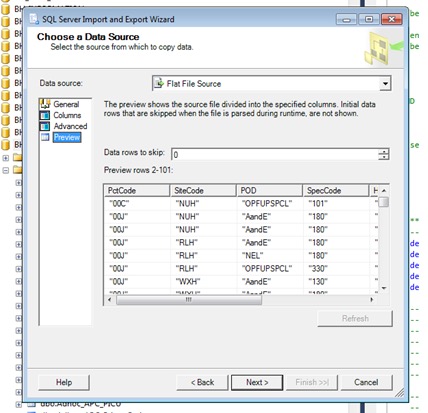
It’s also worth looking at the preview to confirm that everything looks as it should.
How to Remove Quotation Marks from csv Data
Looking at my data in the preview window reveals that every field is encased in speech marks. Ugghhh!
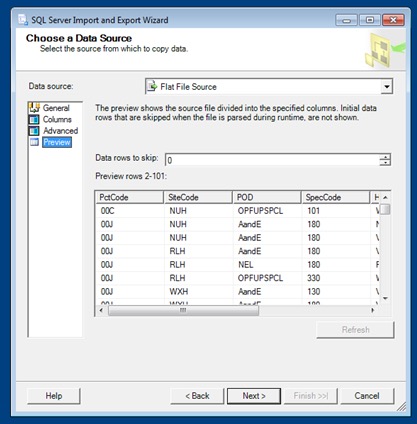
In this case, go back to general and type “ in the Text Qualifier field.
Then when you pop back to preview all the speech marks have gone.
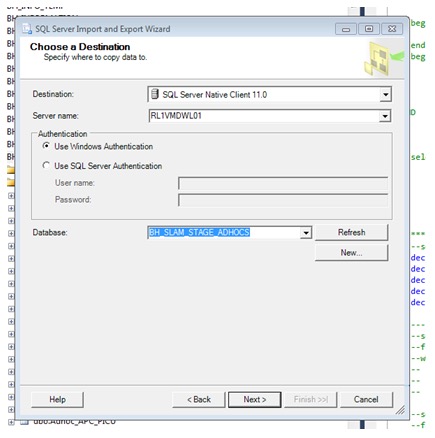
When you are happy with the data you are ready to import. Hit next. The destination database should already by selected.
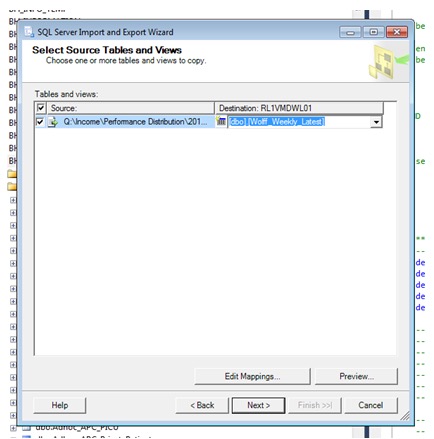
Hit next again and from here you can change the name of your new table. It defaults to the name of your source flat file but here is your chance to change it.
Hit Finish to set the wizard in motion. Easy.
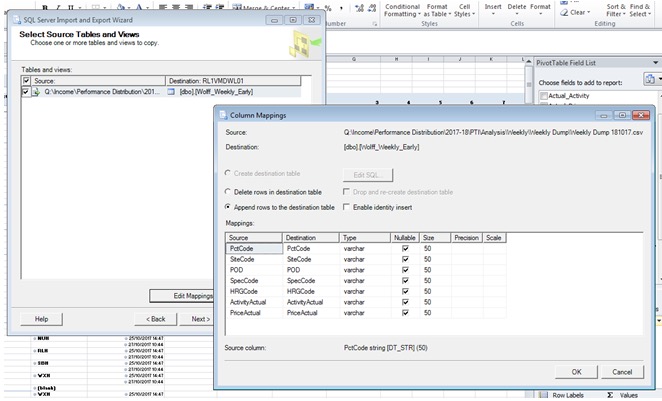
How to Append Rows to a SQL Table Using the Import Wizard
Follow same approach but when you get to choose the name of your table, select the table you wish to append to. Hit edit mapping and ensure the radio box for Append data is selected.

